github搭建博客
首先需要安装的的是git和node
os:win7
Git: v2.31.1
nodejs: v12.20.1
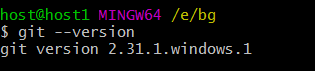
1.安装git
验证是否安装成功:git –version
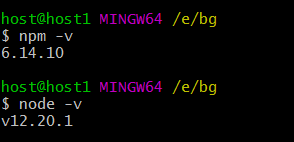
2.安装node
验证是否安装成功:node -v,npm -v
Git和node安装成功之后,选择一个盘创建一个文件夹名为:bg,然后进入这个文件夹,右键Git Bash here打开进来命令行界面
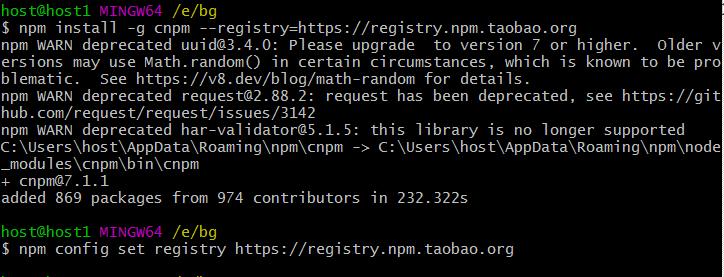
3.安装淘宝源
执行命令:
npm install -g cnpm –registry=https://registry.npmmirror.com
npm config set registry=https://registry.npmmirror.com
4.在bg文件夹安装hexo
安装命令: cnpm install hexo -g
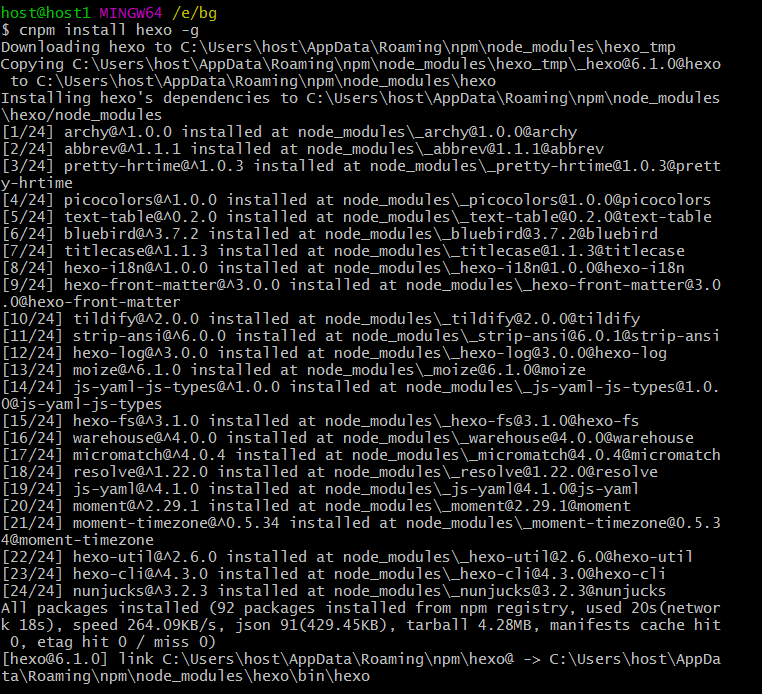
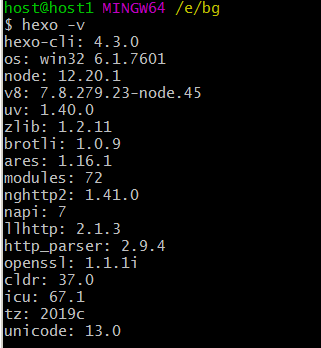
测试是否安装成功,命令:hexo -v
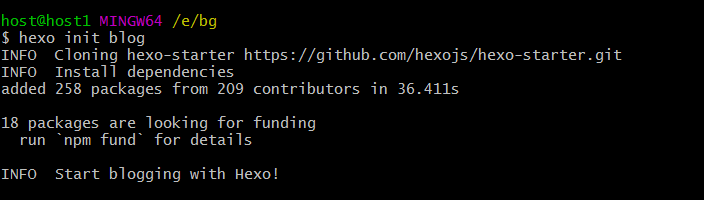
5.初始文件夹blog
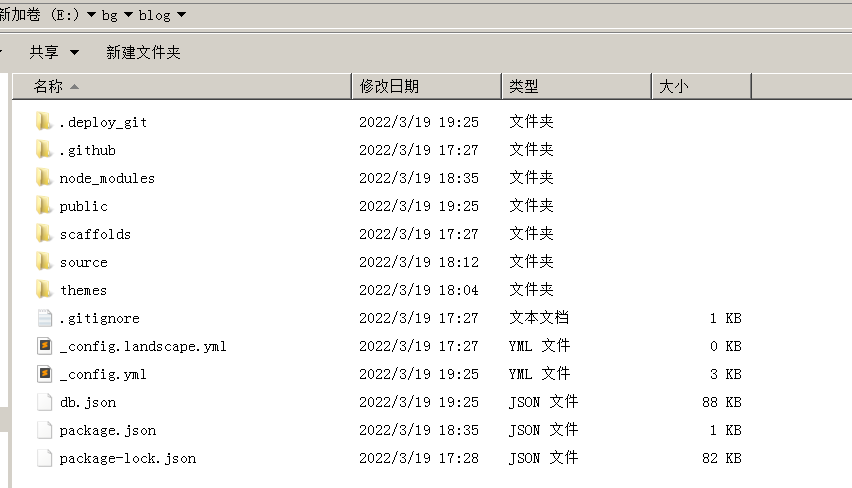
这个blog文件夹就是我们的博客根目录
初始化一个文件夹,命令:hexo init blog ,下面就是初始化的样子
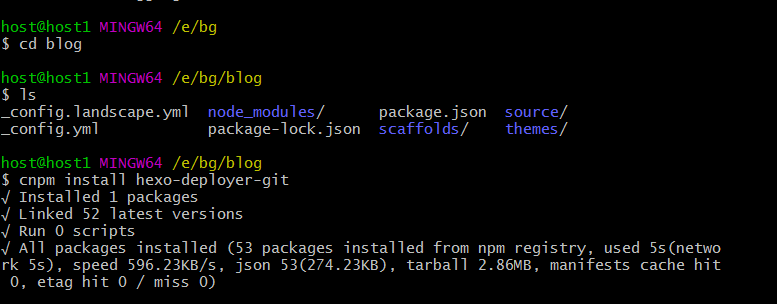
6.在blog也就是博客根目录安装hexo依赖
cd blog //进入blog目录
命令: cnpm install –save hexo-deployer-git
7.git配置SSH key
(1)配置ssh
先生成ssh key
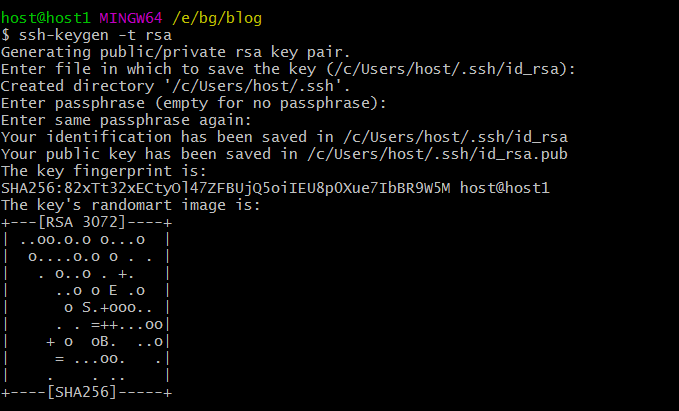
ssh-keygen -t rsa -C “邮箱地址”
备注:这里的邮件地址是github账号绑定的邮件地址
在根目录kblog输入生成命令:ssh-keygen -t rsa -C “邮箱地址”后。连续回车三次即可。
可以看到在用户文件夹(C:\Users\host)生成了一个ssh文件夹
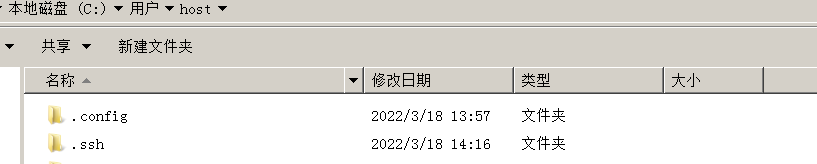
进入到ssh文件夹,复制id_rsa.pub文件里全部内容

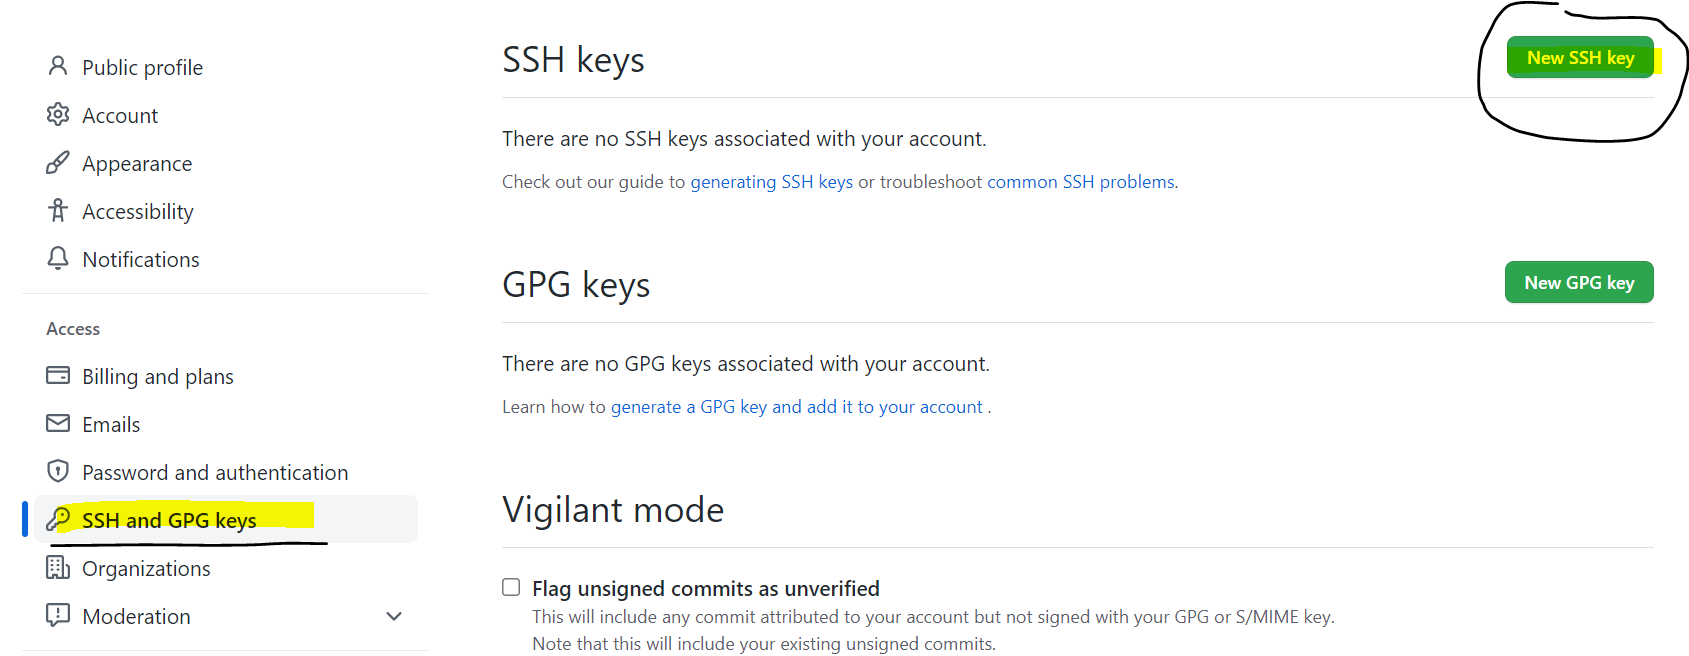
接着打开github主页,点击个人设置,点击左侧的SSH and GPG keys,点击New SSH key
将id_rsa.pub复制的内容粘贴到key中,title随便起一个就行。
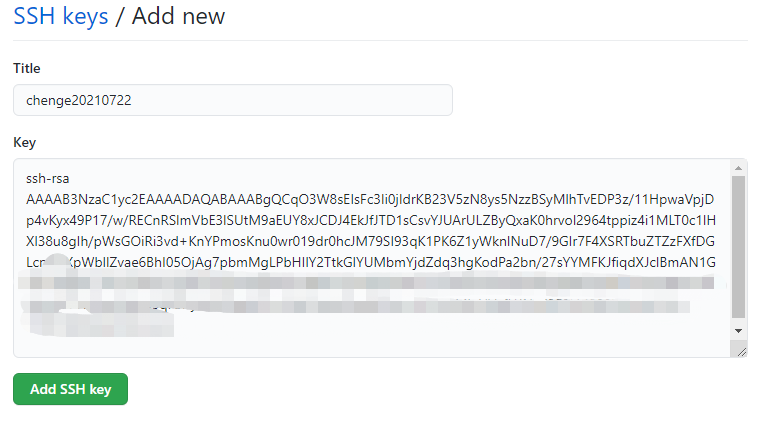
点击 Add SSH key,会跳出一个页面要求输入你的github账号,输入即可
测试是否成功:
ssh -T git@github.com
输入测试命令后,接着输入yes,出现下面这个提示说明成功

8.进入根目录blg 配置账号和密码
git config --global user.name "xxx" #双引号里面填写你的github用户名 |
9.部署到github
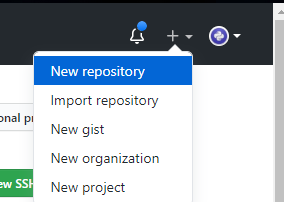
(1)新建一个github仓库
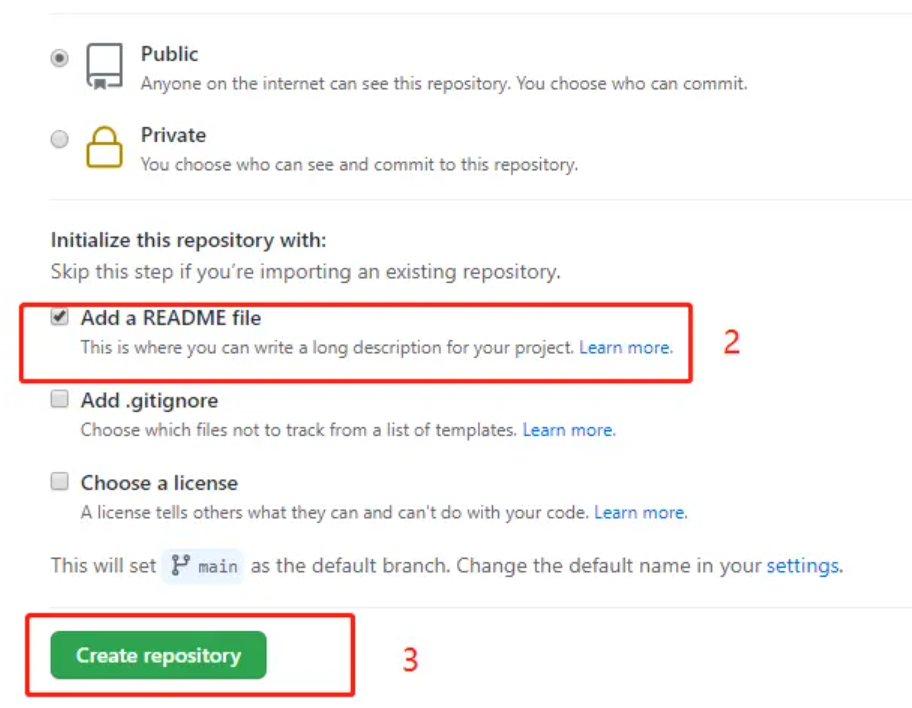
给仓库起名,这里一定要注意
仓库名称格式:用户名.github.io
记得选择下面这些选项
(2)编辑_config.yml,_config.yml文件在博客根目录(blog)文件夹下
deploy: |
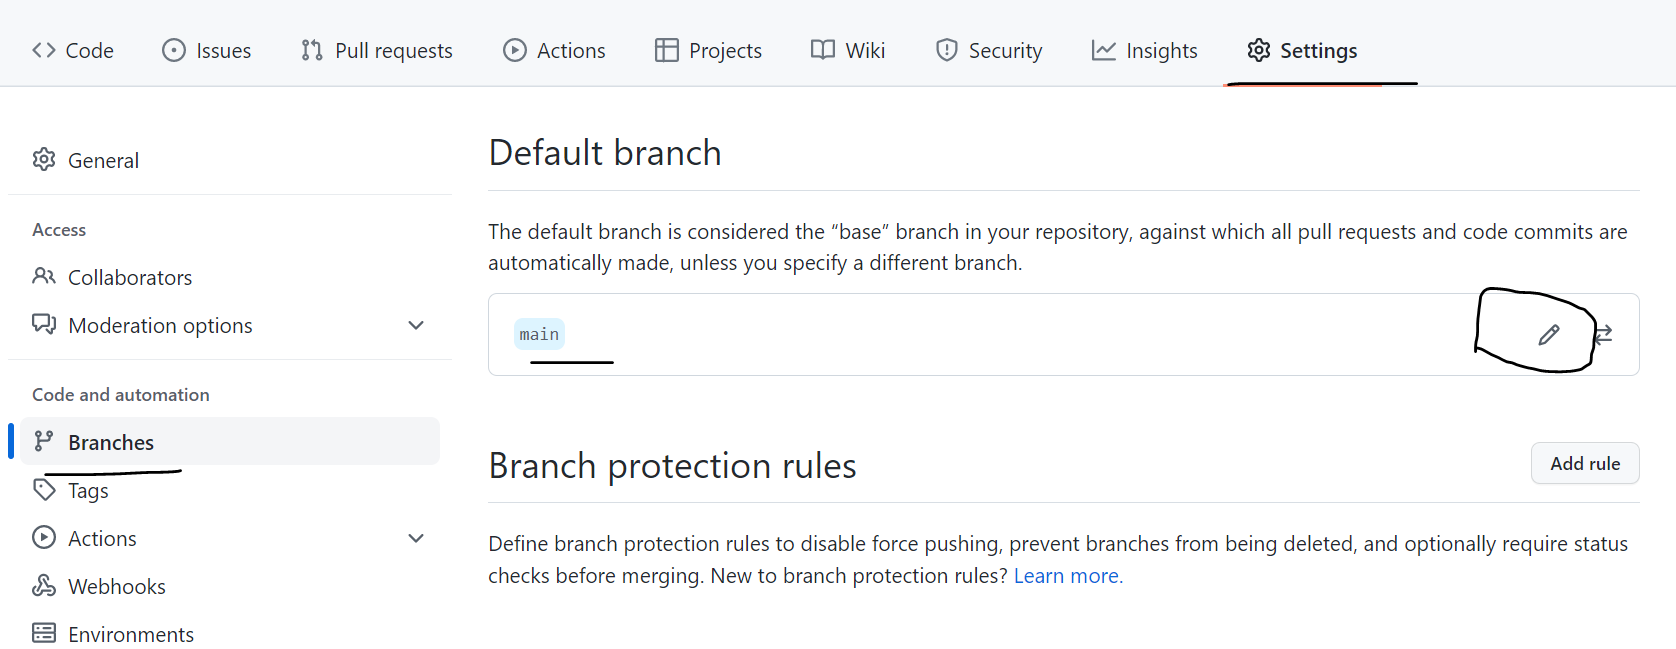
(3)修改分支名称
这边我们需要到仓库设置这边修改Branches分支,把main修改为master
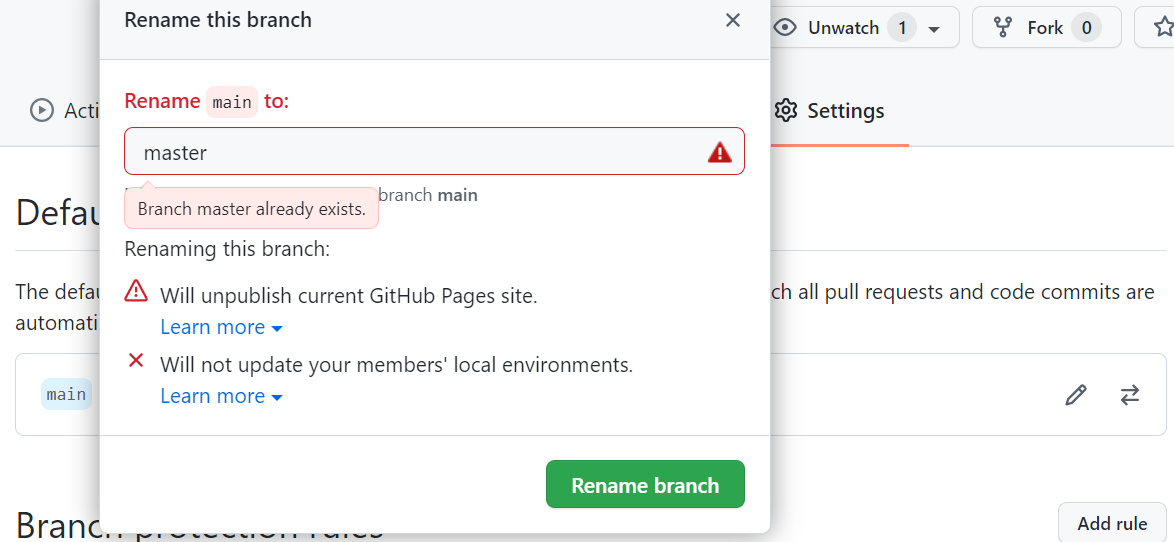
点击笔会跳出一个框,要求你输入修改后的名字
输入之后,点击Rename branch 即可修改成功
(4)把文件上传到Github
执行命令 hexo clean&&hexo g&&hexo d
hexo clean //清除缓存
hexo g //生成html文件
hexo d //上传到github
部署成功的标识

然后查看博客的样子
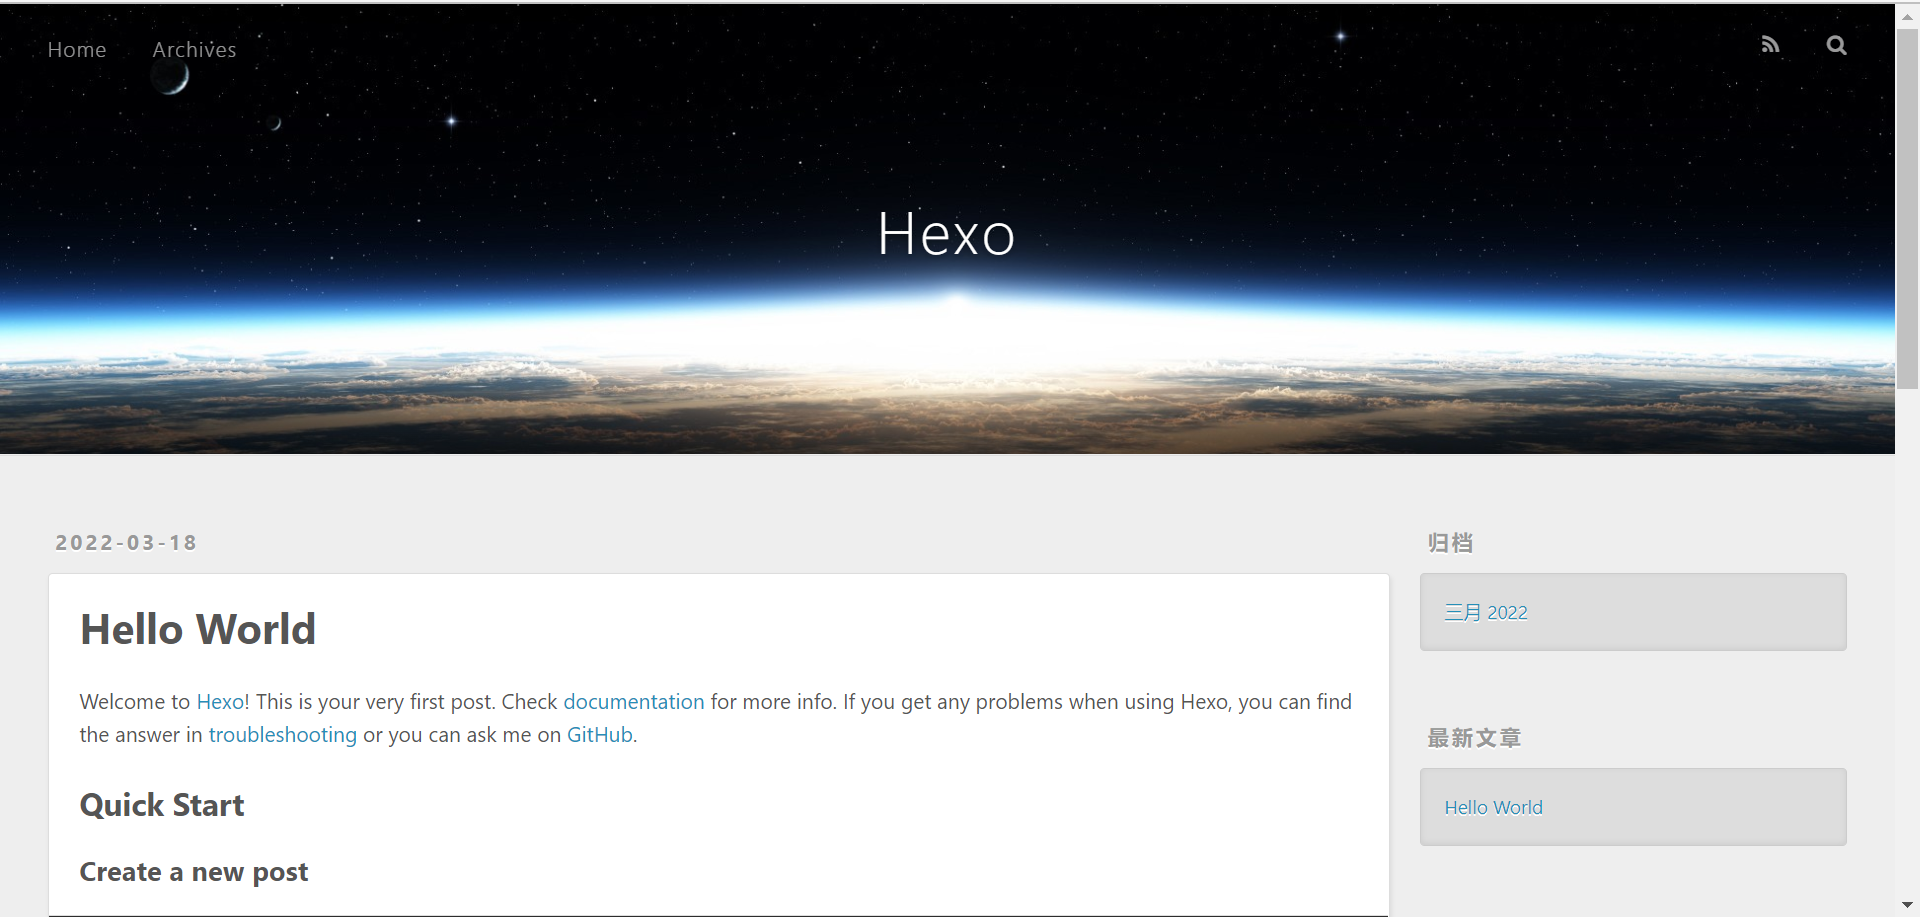
10.更换主题
(1)mions主题
mions主题是一个极为简洁的主题,具体看长亭大佬的博客
源码下载:hexo-theme-minos:一个简单而复古风格的Hexo主题,更专注于你的想法
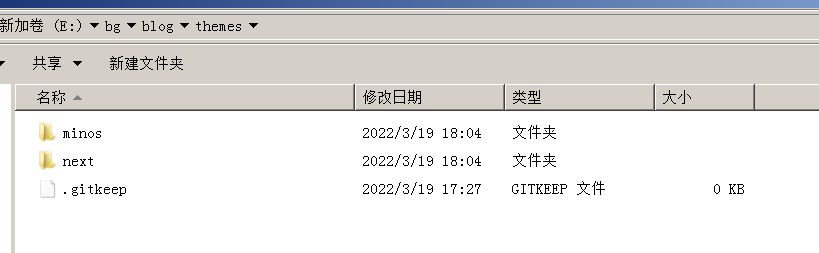
源码下载好,放到theme文件夹,并重命名为mions

mions需要的包有:
1.cheerio 安装命令:cnpm install cheerio

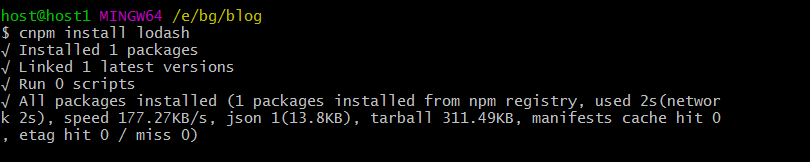
2.lodash 安装命令:cnpm install lodash
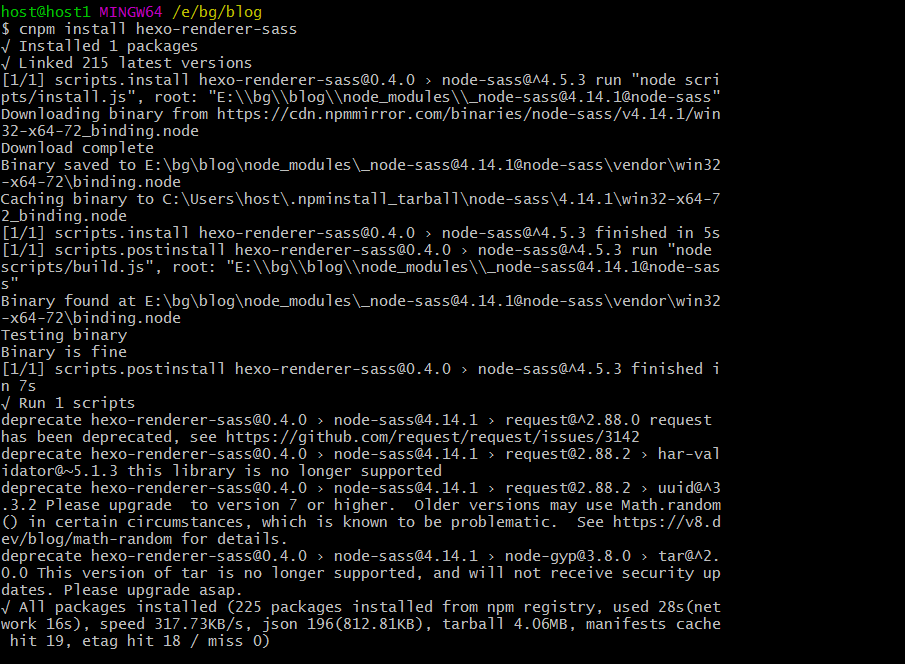
3.hexo-renderer-sass 安装命令cnpm install hexo-renderer-sass
根目录blog下的_config.yml配置修改
增加以下内容 |
文章加密-hexo-blog-encrypt
安装命令:cnpm install hexo-blog-encrypt@2.0.0

themes/mions/_config.yml配置修改
# Website's icon url. |
(2)next主题
next主题是一个有很多人使用的主题,具体看素念大佬的博客
源码下载:next7.8
源码下载好,放到themes文件夹,并重命名为next
根目录下的_config.yml配置修改
增加以下内容 |
文章搜索hexo-generator-search
安装命令:cnpm install hexo-generator-search –save
文章加密-hexo-blog-encrypt
安装命令:cnpm install hexo-blog-encrypt@2.0.0

加密的使用方法
--- |
